How to Start Brewing Beer at Home
There has been an explosion in brewing beer at home after homebrewing was legalized in 1979. While making beer is fun simply because it is beer, there is also a deeply satisfying sense of accomplishment opening the first bottle of homebrew. The feeling cannot be replicated by picking up a six pack at the liquor store and drinking. In fact, for many homebrewers, the act of brewing changes the way people think about, taste, and smell beer.
Making beer at home is now legal in all fifty states. It has never been easier or more affordable to homebrew. While the process of brewing beer might seem daunting to the uninitiated, the brewing process is fairly straight forward. Starter kits for beer equipment and ingredients are affordable and easy to purchase. This article will guide first-time homebrewers on how to make that first tasty batch of homebrew.
Where to Start
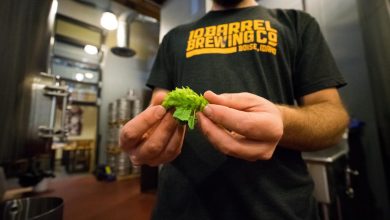
Brewing beer is the process of taking the sugars found in barely and then using yeast to convert those grain sugars into alcohol. Each step in the brewing process is designed to make the natural sugars found in barley easily digestible for beer yeast in the fermentation process. Hops are added to the mix for its flavor, anti-bacterial properties, and helping to preserve the beer for longer periods of time. Specialized yeast is the magic that allows the sugars to be converted to alcohol and to help each style of beer have its own distinct flavors.
Special equipment is needed to brew beer at home. Fortunately, this equipment is easily purchased at homebrew websites. In addition, there are homebrew stores in most major cities that carry all the beginner kits. Homebrew stores have the added benefit for the chance to develop a relationship with the staff at the store. Homebrewing store staff are often expert homebrewers themselves, and they can help troubleshoot any problems and offer advice on how to expand a home brewing operation.
It is advisable to find a friend that homebrews and help them with the brewing process before trying the first batch at home. Most of the instructions found in this article make more sense if it is experienced first-hand. Homebrew stores often hold first-time brewing classes on a weekly basis. There are also countless groups of homebrewers on social media and online forums that welcome anyone interested in brewing beer.

The Starting Kit
The basic equipment needed to brew beer is as follows:
- A large stock pot– Five gallon stock pots are easy to find at box stores like Walmart. Pots are one of the few items that generally do not come with a beginning brewing kit. It is wise to spend a little extra on a thick-bottomed stainless steel stock pot and avoid cheap aluminum pots. The reason for this is that brewing beer means heating grain sugars to a boil. Thin-bottomed pots will easily scorch and burn the sugars, making for bad tasting beer. Again, a home-brew store will have a selection of pots to choose from.
- A fermentation bucket or carboy– Once the beer is heated, it is called wort. The wort, after cooling, is placed into an air tight tank for fermentation to take place. Most starter kits come with a food grade bucket that has an airlock device already installed. Over time, most home brewers upgrade to five gallon plastic or glass carboys for fermenting beer.
- An auto-siphon– This is one of the most specialized pieces of equipment in a starter beer kit and one of the most useful to brewing quality beer. One of the most common mistakes to avoid in the brewing process is mixing oxygen into the beer during fermentation. The wort cannot be simply poured into the tank, as too much oxygen will enter the wort and ruin the beer. Most starter kits come with an auto-siphon.
- A bottling bucket– This bucket can be a standard food-grade bucket that has a hole with a valve drilled into the bottom of the bucket. Once the beer is taken from the fermentation tank into the bottle bucket, a special tool at the end of a short hose is used to fill the bottles of beer up from the bottom. It is important that beer is never poured into containers from the top because too much oxygen will mix with the beer and ruin the carbonation finishing process in the bottles.
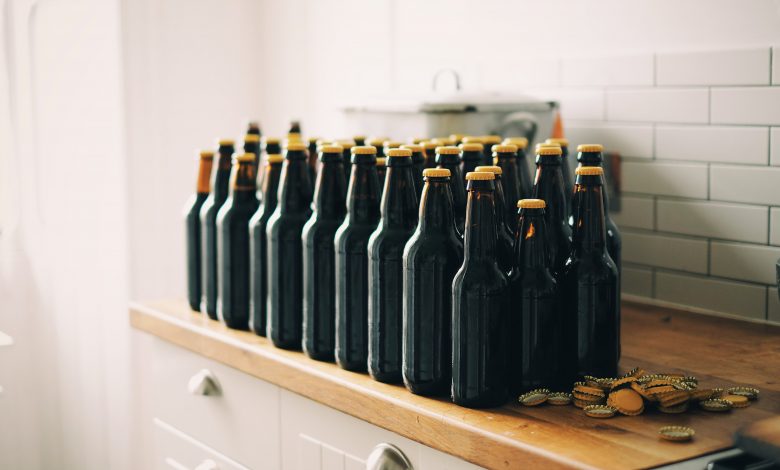
- A bottle capper– Once the beer has fermented for a few weeks, the beer has to be bottled and left to finish for another few weeks. Again, the auto-siphon is used in the process to move the beer from the fermentation tank to the bottling bucket. Once the beer is poured into the bottles, a special capper is used to seal a new bottle cap onto the bottle. These come standard in home brewing kits.
- Others– Other types of tools needed are large stirring utensils, a thermometer that can be attached to the pot, cleaners, paper towels, a bottle cleaner, a hydrometer, and glass beer bottles.

Brewing the Beer
The first beer that homebrewers make comes from a starter kit. This starter kit will have all the necessary ingredients. These ingredients include: hop-flavored malt extract, a package of ale yeast, and about three quarters of a cup of corn sugar. While there are many kits, this is often the very basic first-time brewing kit.
Warning:
Before brewing, remember to sanitize everything. If unwanted bacteria make it into the fermenter, then the yeast cannot do its job, and the homebrewer will end up with a horrible beer. Nearly everything that goes wrong with home-brewing can be traced back to a lack of proper sanitation before brewing started. A weak chlorine solution in water can be used. There are also cleaners designed for brewing beer that have less harsh chemicals, but still kill unwanted bacteria. Hot water and a good cleaner can never be used too much in the sanitation process.
The process of brewing beer goes as follows, but will vary with each beer recipe used. However, this is the basics of every first-time beer-making recipe.
- Combine and dissolve the malt extracts in one and a half gallons of water and bring to a boil for fifteen minutes. This is called the wort.
- Sanitize the fermentation bucket or carboy with a bleach and water solution.
- Add four gallons of water to the fermentation tank and turn off the flame on the pot. The goal is to take the hot wort and quickly get the temperature to 78 degrees or below by mixing it with the cold water in the fermentation bucket.
- Use a hydrometer to measure the specific gravity of the beer and stir in the yeast.
- Use the auto-siphon to drain the wort from the pot to the fermentation bucket or carboy.
- Use an airlock to let excess air in the fermentation bucket out, but keep contaminated air from getting back into the wort.
- Ferment the beer in a cool, dark location for eight to fourteen days.
- Use the bottling bucket, auto-siphon, and bottling attachments to fill clean beer bottles.
- Add in the corn sugar before filling up bottles.
- Cap the bottles and let the beer age another ten days.
- Drink up and enjoy!
While this is a barebones example of how to brew beer, all beginning beer brewing will follow this pattern. Each kit comes with instructions, or recipes can be found in the countless beer brewing books and websites.